3D Printer Filament Dryer
When I started to work with hygroscopic filaments, I quickly found out the effects of wet filaments. Bad print quality, excessive stringing, decreased layer adhesion, its not very fun to print with wet filament. I decided to make something with junk I had lying around that would dry out my filament and keep it dry.
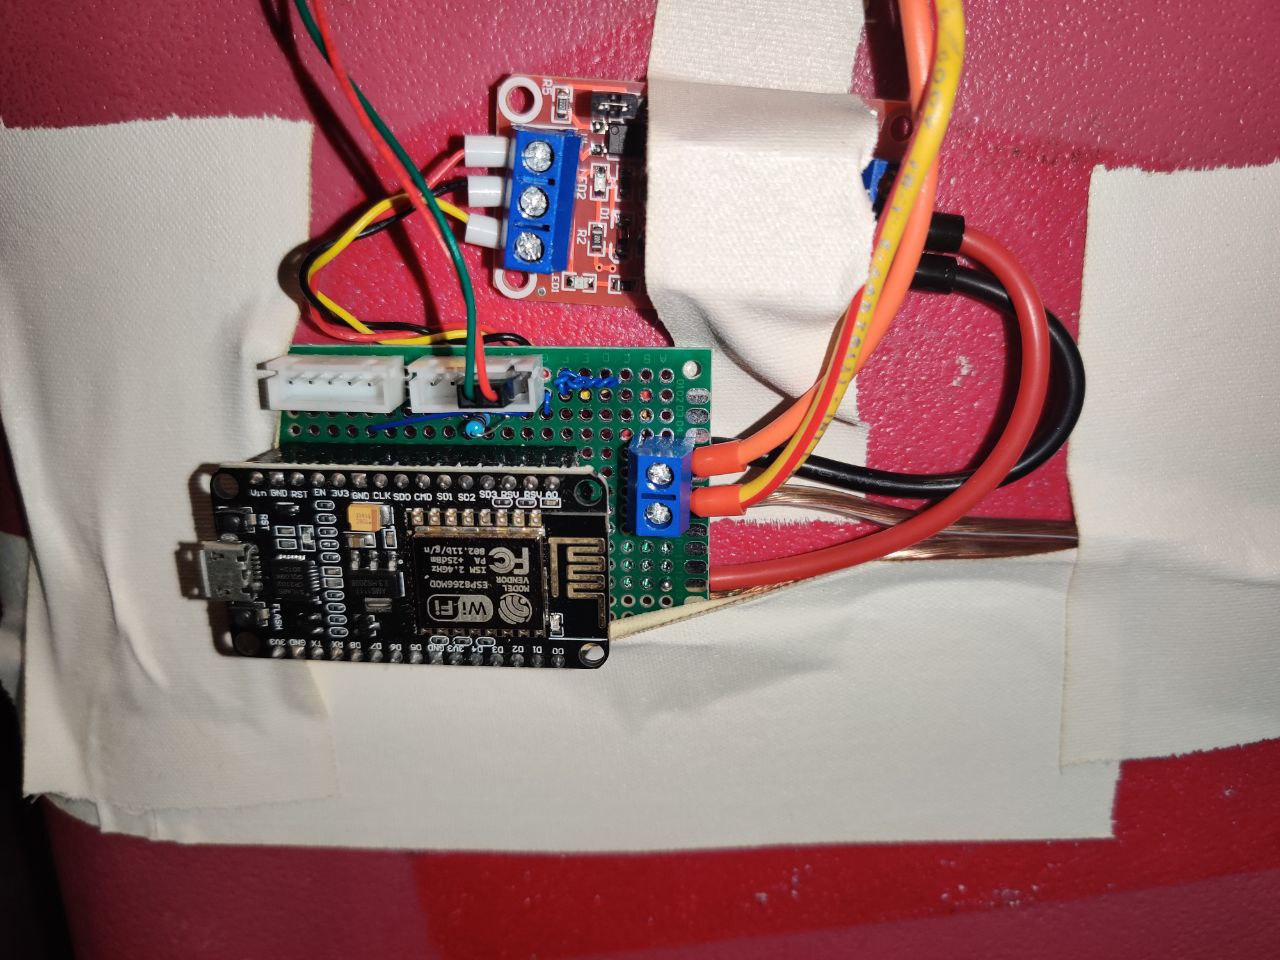
Control
The heated bed is controlled by an ESP8266 via a relay, the thermocouple on it is read by an ADC pin on the ESP and it maintains a safe temperature for the bed. There is also a fan that is always on to circulate air around the heating chamber.
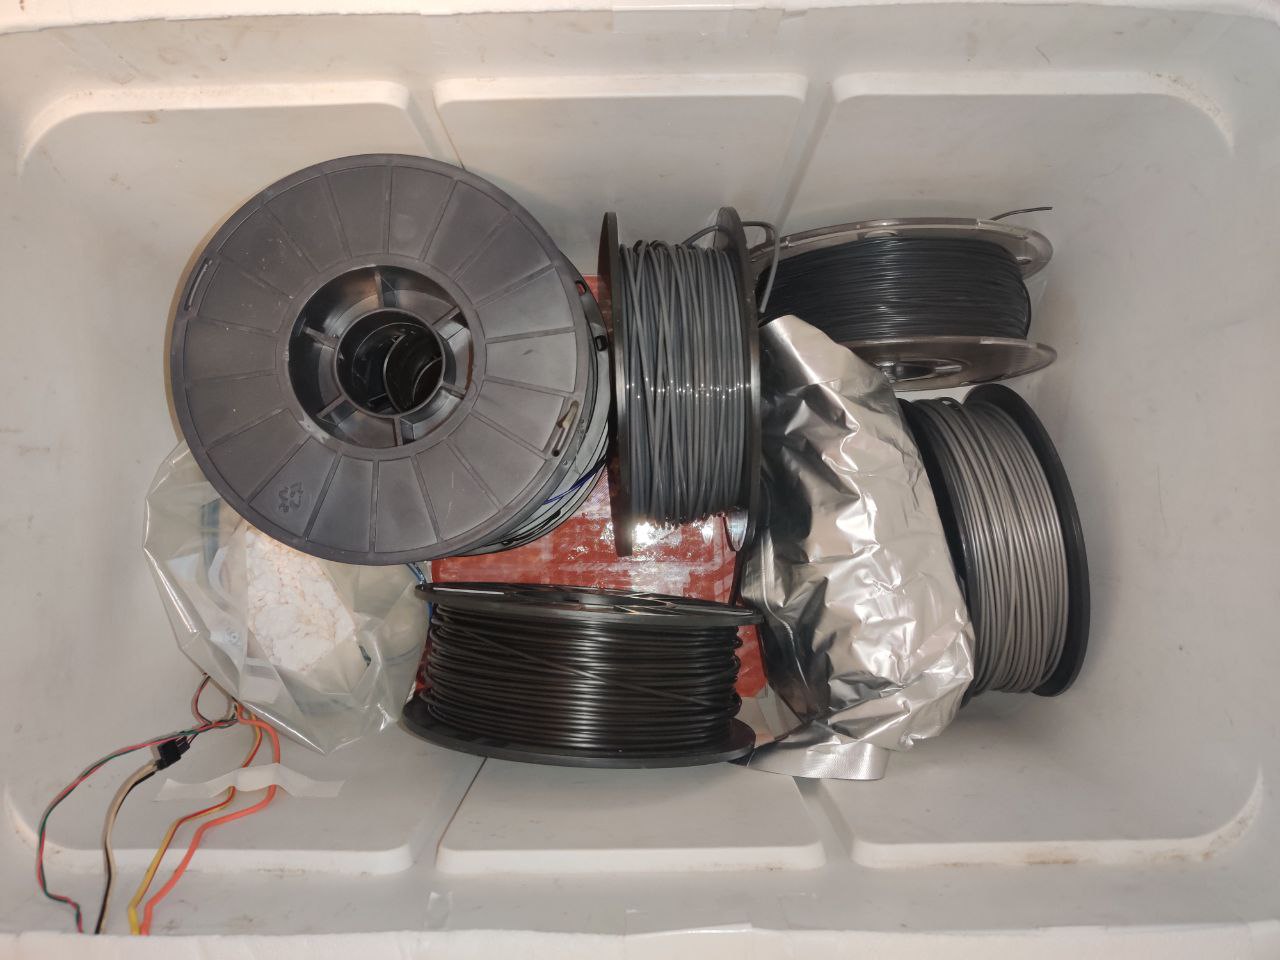
Desiccant
I used some Calcium Carbonate as the desiccant, it is commonly available as a salt alternative for melting snow and ice. Before using it as a desiccant be sure to dry it by putting it in the oven at around 400 degrees for an hour or so. Be aware that it will melt and bubble, being very difficult to remove from the pan and covering the oven in a fine mist of corrosive powder. I would suggest containing it in foil, leaving an opening for the water vapor to escape
Improvements
There are many flaws with this design, I threw this together for fun but would do a few things differently if I were to do it again.
Use a solid state device to control the heaterNot only is it annoying to listen to the relay click on and off, its days are numbered. I used a cheap relay from AliExpress and it is switching 12V DC @ 7.5A. I am sure this is very taxing on that little relay. |
Host a website to control the heating cyclesUsing an ESP, I can connect it to the wifi and host a website that has controls for how long I want to run the heater. |
Implement a humidity sensorUsing a humidity sensor would potentially allow for automatic control where you would detect when the humidity would stop going down and turn off the heater. You could also graph the temp/humidity levels and that might look cool. |